Zeiss Calypso 2021 Software Optimizes Measurement Process
Software reduces the time and effort associated with component inspections.

Zeiss Calypso 2021 offers fast measurement with optics.
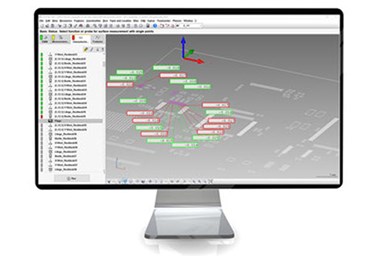
Zeiss’ Calypso 2021 is an all-purpose measurement software with a focus on standard geometries designed to reduce the time and effort needed to analyze workpieces. This latest version comes with more than 60 new functions and improvements which are said to provide significantly better performance in quality control.
The company says that measurement results are available 20 times faster than with the 2020 version thanks to improved mathematical algorithms and other innovations. Users of Zeiss O-Inspect can also speed up optical measurement processes because the software reduces unnecessary travel paths and increases the possibility to sort measurement elements. It also combines as many measurement elements as possible into one camera position, which is automatically determined according to the preset zoom level.
The software is said to offer a higher performance level and time savings due to a dynamic planning option, which enables a simple adjustment of the inspection scope based on dynamic rules from MES/ CAQ solutions (for example, the Zeiss PiWeb). An additional advantage is that users don’t change the measurement plan themselves, which means they don’t need to be recertified, which can be a time-consuming process.
The new software version also optimizes the programming, making it possible to program from the PMI with Step AP 242. Other programming improvements include simplifying the workflow for showing deviation flags, and introducing improvements for importing PMI. Zeiss also optimized the creation of reports with its PiWeb reporting and the change management for comparing inspection plans.
Related Content
-
Precision Machining Technology Review: September 2025
Production Machining’s September 2025 technology showcase includes some of the latest technology from Siemens, United Machining Systems, Mazak, Nikon, IMCO Carbide Tool Inc. and Okuma America Corp.
-
How To (Better) Make a Micrometer
How does an inspection equipment manufacturer organize its factory floor? Join us as we explore the continuous improvement strategies and culture shifts The L.S. Starrett Co. is implementing across the over 500,000 square feet of its Athol, Massachusetts, headquarters.
-
How Well do You Know Granite Surface Plates?
Here are some tips for choosing, maintaining and customizing a granite solution that will best meet your shop’s particular inspection needs.


