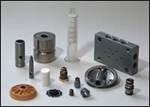
Single Pass Honing System with Automatic Tool Wear Compensation
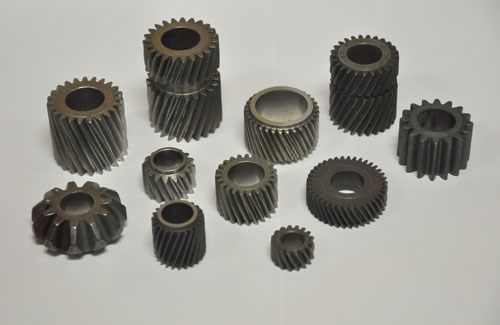
Single pass honing, also referred to as diamond bore sizing, is a good way to produce parts economically when the bore is small or has thin-walled members that need to be honed.
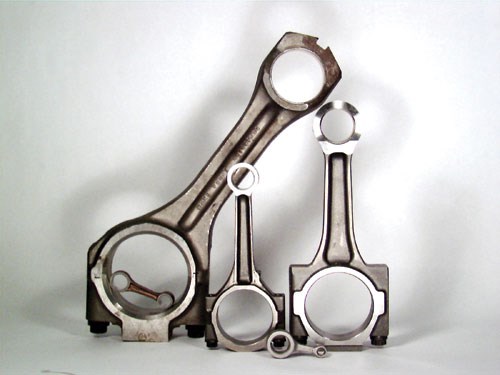
Single pass honing, also referred to as diamond bore sizing, is a good way to produce parts economically when the bore is small or has thin-walled members that need to be honed. Examples of such applications include torque convertor hubs, and a host of other through bores such as connecting rods where cross hatch pattern and super fine surface finish are not required.
In a typical single pass honing machine, usually 0.025 mm to 0.075 mm of stock is removed using three to four honing stations. Based on the amount of stock removed and the hardness of the part and material, tools can last anywhere from 40,000 to 100,000 cycles.
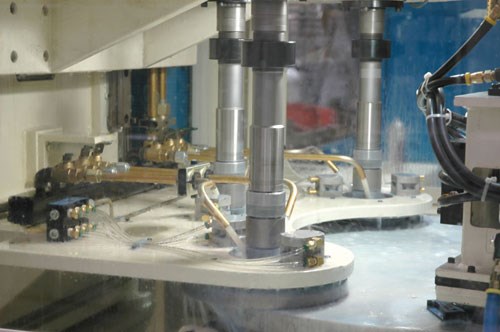
In many single pass honing machines available today, all the honing spindles are driven by a single motor, which is mounted on a slide, and a rotary index table moves the part from station to station. Part inspection is done either manually or by post process gaging systems at the end of the cycle.
However, there is a drawback with this setup. If the part is found to be drifting out of spec, the final inspection cannot identify which of the tools (among multiple stations) are worn and causing the drift. To find out, an operator has to measure the bore size in each station to determine, and then replace, the worn tool.
In addition to causing downtime, this has a detrimental effect on tool life if the wear is not monitored frequently. For example, if the tool in the roughing station (first station) were to wear first, the resultant bore is smaller and other tools downstream will be taxed to compensate by trying to take more stock. In a cascade effect, this causes tools in subsequent stations to wear prematurely.
The only way to prevent premature wear is to monitor tool wear in every station frequently, which is the standard practice. Wear compensation is typically accomplished by turning a nut manually at the bottom of the tool. Once the tool is expanded, it is not possible to reverse it—overcompensation is a common occurrence. The sleeve design predominantly in use today does not readily lend itself to automatic compensation because of the fact that the tools are driven off one motor.
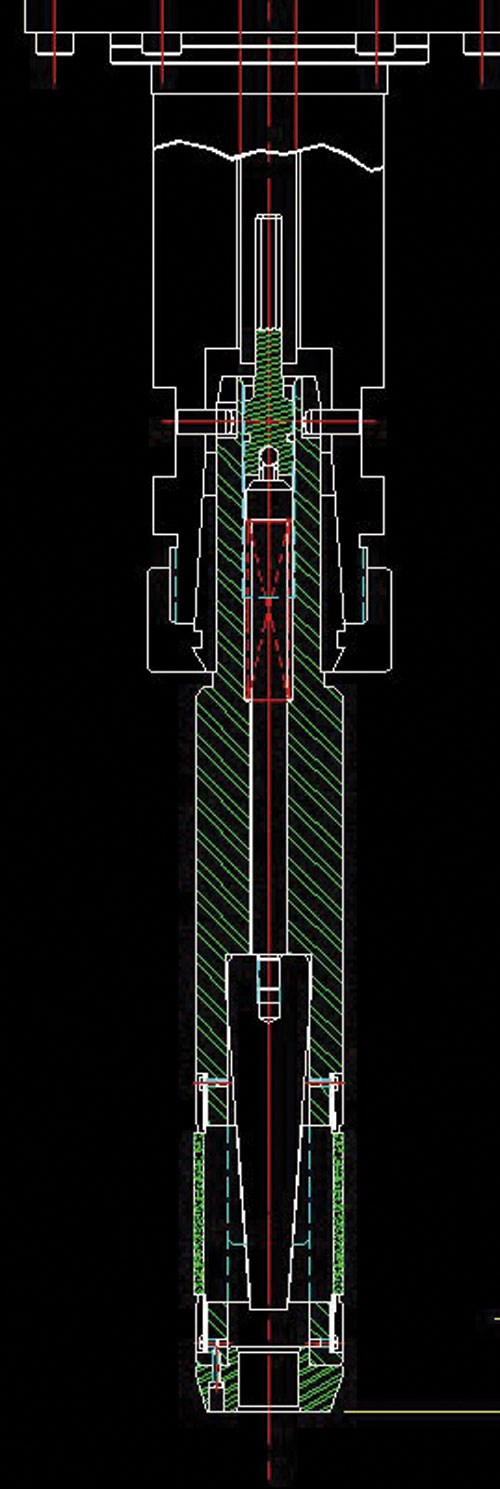
A new single pass honing system from Nagel, the ECO-40PVT, eliminates these drawbacks by independently driving each tool by a servomotor and using an expansion cone design for the tooling. On this machine, diamond tools are mounted on precision ground cones and pre-dressed to size.
A servo controlled tool expansion system turns the screw automatically, which in turn, expands the tool in 1-micron increments. The amount of expansion is determined by realtime feedback from the gaging system, which measures each part. For continuous production honing operations, this is a big improvement over the manual measurement and compensation systems and increases the productivity, as there is no work stoppage.
For example, consider the three-spindle machine honing a torque converter hub. The machine constantly monitors the machining torque in spindles 2 and 3. As the tool in spindle 1 (the roughing station) begins to wear, the bore gets smaller, causing spindle 2 to experience an increase in cutting torque as it tries to remove more material.
There is a precise correlation between the increased torque and tool wear. As the monitor senses increased torque load, the machine controller signals station 1 to expand and compensate for the wear. Similarly, the machining forces in spindle 3 are used to compensate wear in spindle 2. It’s a reverse of the cascade.
A final gaging station is used to 100-percent inspect the part and compensate the tool wear in the final honing station. A no-go, gage-type, pre-gaging station ensures incoming bores are not too small, thereby protecting the roughing station (spindle 1 tool) from damage.
The machine can, however, accept existing inventory of sleeve-type tools by other manufacturers commonly available so that customer can run through its existing inventory. However, those tools do not lend themselves for automatic wear compensation.
In the most current sleeve-type tool designs, once the tool is worn out, the complete tool is usually sent back to the manufacturer for re-stripping and plating. In the case of the new expansion cone design, the customer can remove the worn out abrasive “onsite” and put in fresh abrasive sticks.
This new system also helps to reduce the inventory of expensive complete tools. For example, if a single pass machine were to have four stations, the tooling in each station has a different grit size, and based on the production volumes, there will be a number of backup tools for each grit size. However, with the expansion cone design the tool is common for all the stations (only the abrasive is different), thereby minimizing the backup tooling inventory.
The expansion cone design also offers another significant advantage over the sleeve-type design tools. When the sleeve expands, the cylindricity is not always maintained as the expansion occurs because of deformation of the sleeve when forced over a cone—there can be some high and low spots.
As a result, some sleeve-type tool performance can be inconsistent. It is not uncommon for an operator to go through several tools before finding the one that works well. This inconsistency results in increased tool inventory levels.
With the new expansion cone design, a pre-measured amount of abrasive is mixed in a centrifuge with metallic binder and sintered. The thorough centrifuge mixing minimizes variation in the distribution of the abrasives. Also, the metal-bonded abrasives are pre-dressed, which results in “first part, good part,” thereby reducing the start up time after tool change-over.
Related Content
United Grinding Partners With MDI Machine Tools to Expand Texas Distribution
United Grinding North America collaborates with MDI Machine Tools to bring advanced grinding and machining solutions to key Texas industries like aerospace and automotive.
Read MoreThe Value of Mass Finishing, Shot Blasting for Aerospace and Medical Applications
The choice between mass finishing and shot blasting for CNC-machined parts depends on the specific requirements of the application.
Read MoreForkardt Hardinge Swiss Workholding Provides Reliable, Consistent Performance
The company’s Swiss collets are designed to securely hold parts without marring surfaces, minimizing vibration to ensure smoother machining, enhanced accuracy and extended tool life.
Read MoreSandvik Coromant Solid End Mill Enhances Profiling Efficiency
Sandvik Coromant’s Coromill Plura Barrel end mill is designed for high process security and significant cycle time reductions in aerospace and other high-demand sectors.
Read MoreRead Next
Expanding On Honing Options
While available both in horizontal designs and vertical designs, three different machining methods are used for honing operations. The most common method, effective on a range of diameters and materials, uses multistroke machines to hone with one or more abrasive stones attached to a single rotating spindle.
Read MoreHow To (Better) Make a Micrometer
How does an inspection equipment manufacturer organize its factory floor? Join us as we explore the continuous improvement strategies and culture shifts The L.S. Starrett Co. is implementing across the over 500,000 square feet of its Athol, Massachusetts, headquarters.
Read MoreFinding the Right Tools for a Turning Shop
Xcelicut is a startup shop that has grown thanks to the right machines, cutting tools, grants and other resources.
Read More


